How to Use Protected Content in Your Membership Site
AccessAlly is designed to show or hide your website’s pages based on whether a user is logged in or not, and what permission tags that logged-in users have.
The Protected Content feature allows you to configure these same tag-based permissions for files that you upload to your site (PDFs, images, etc.).
The tutorials on this page will show you how to set up the Protected Content with proper permission tags (as well as any conditional redirects, if necessary).
Protected Content Tutorials
How To Set Up A Protected Content File
In this tutorial you’ll see how you can set up the Protected Content feature, and start uploading and protecting files for your online courses. If someone doesn’t have access to the file, they will be sent to the usual forwarding URL (like your sales page!) or asked to login if they aren’t logged in.
How To Integrate Protected Content With Amazon S3
Instead of simply uploading the Protected Content file to your WordPress page, AccessAlly allows you to integrate with Amazon S3. Using Amazon S3 to host your files frees up valuable space on your website to keep things running quickly and smoothly.
Here are the steps for uploading content to your Amazon S3 account once you’ve integrated AccessAlly using your Amazon S3 API keys.
First, you’ll want to create Amazon S3 “buckets” to help organize your files.

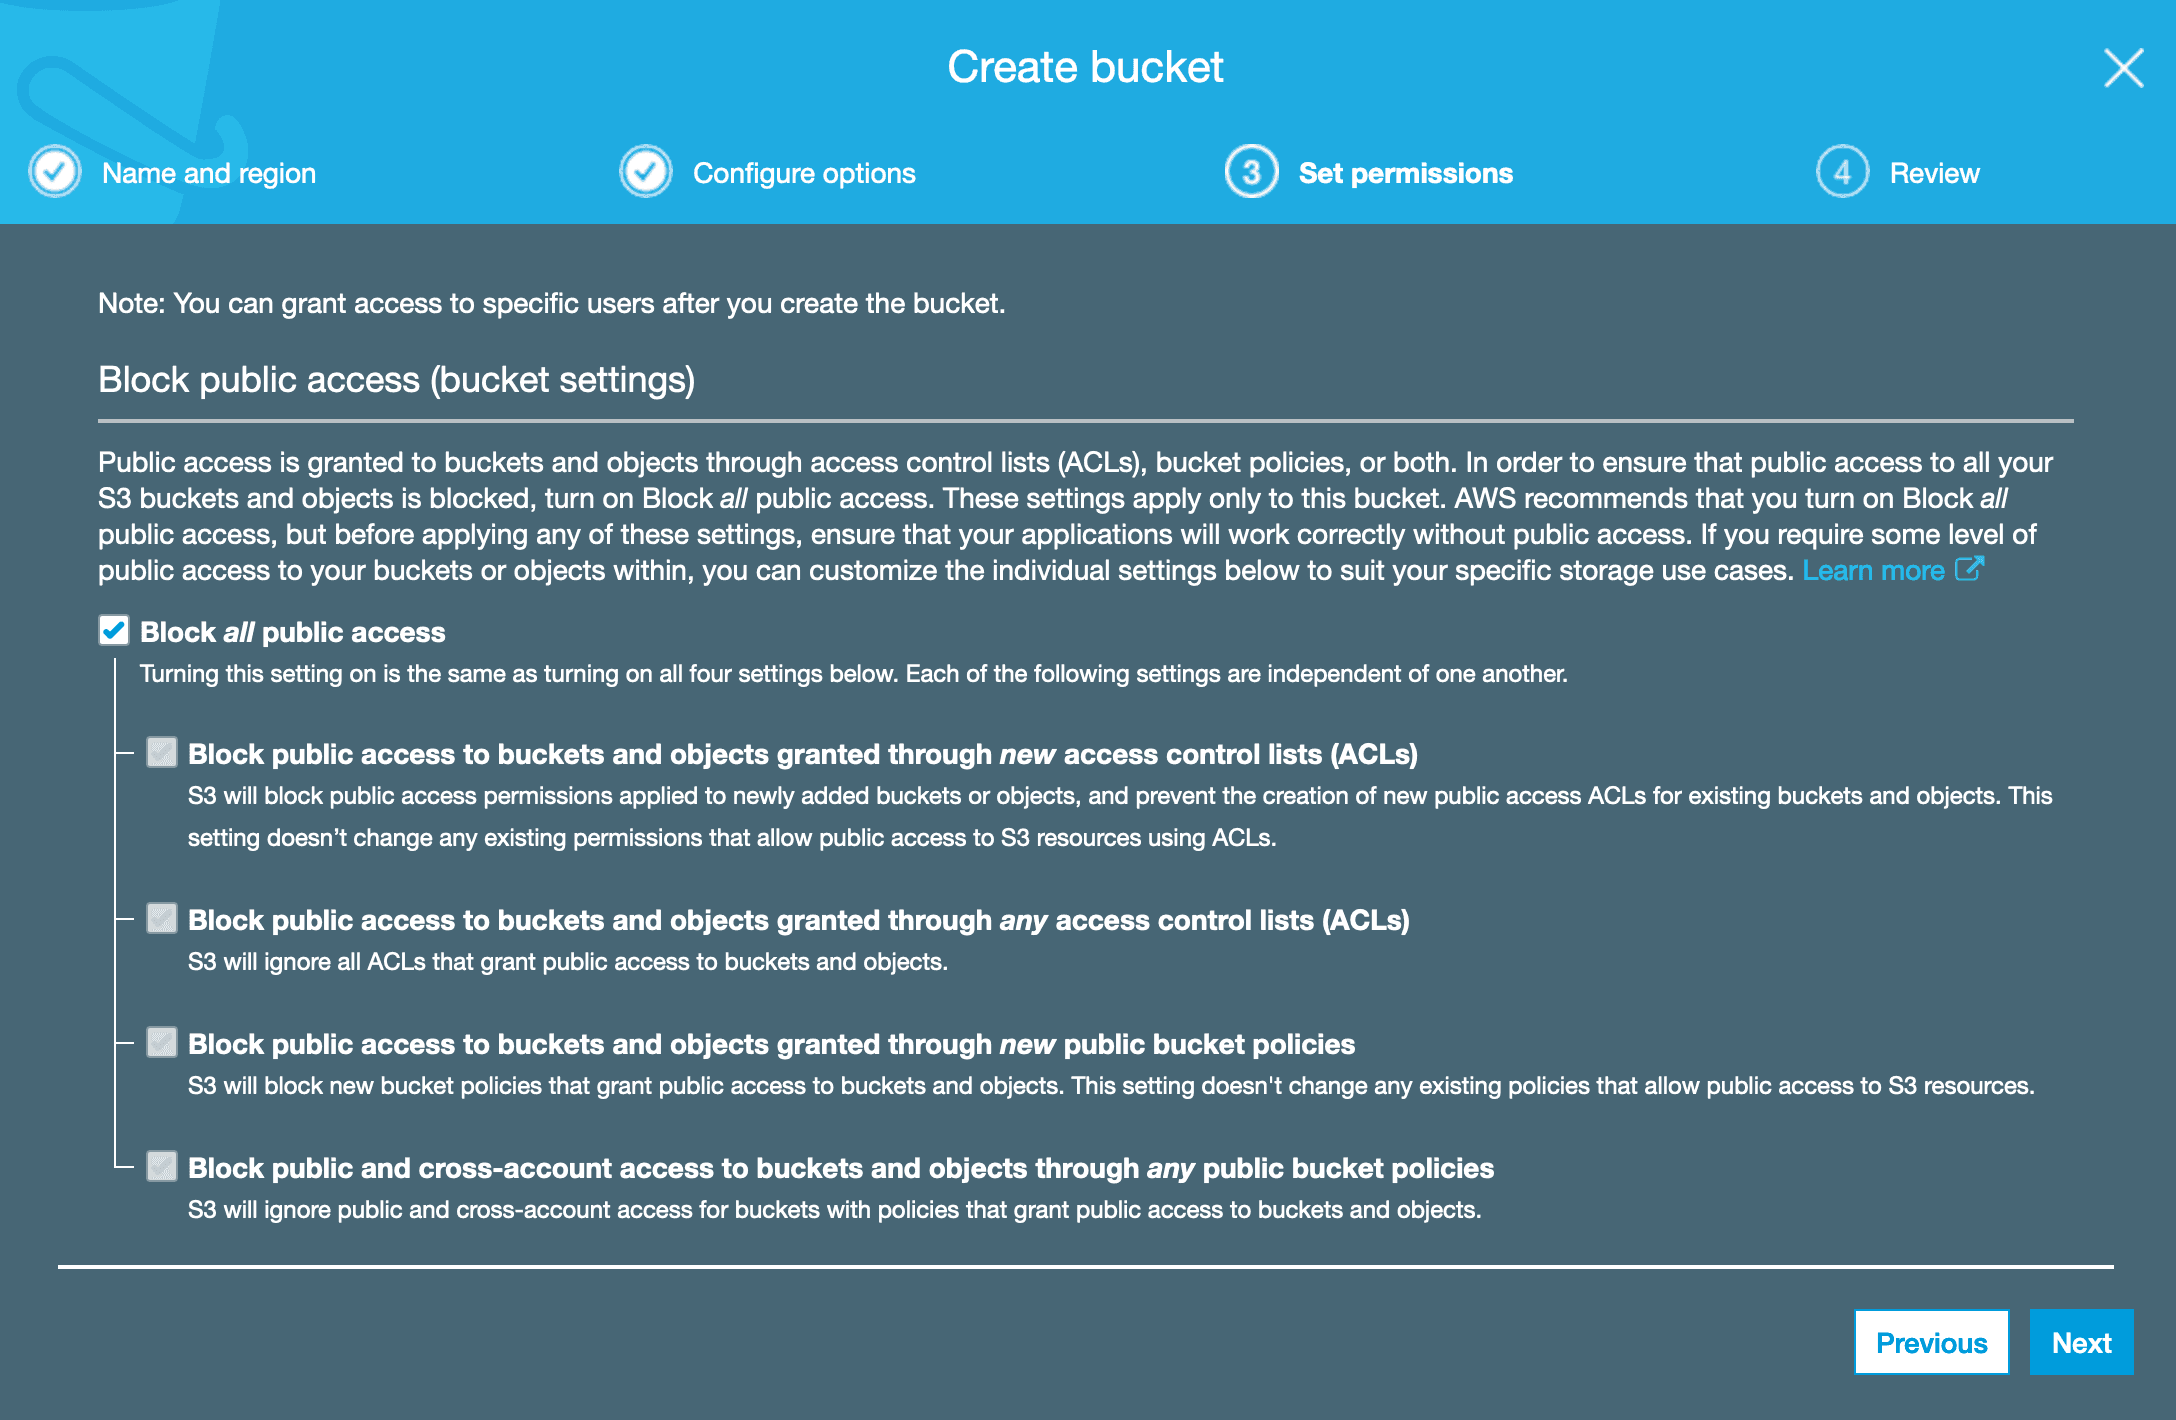
Choose the “block all public access” checkbox to protect files that you’ll be uploading from unauthorized visitors.
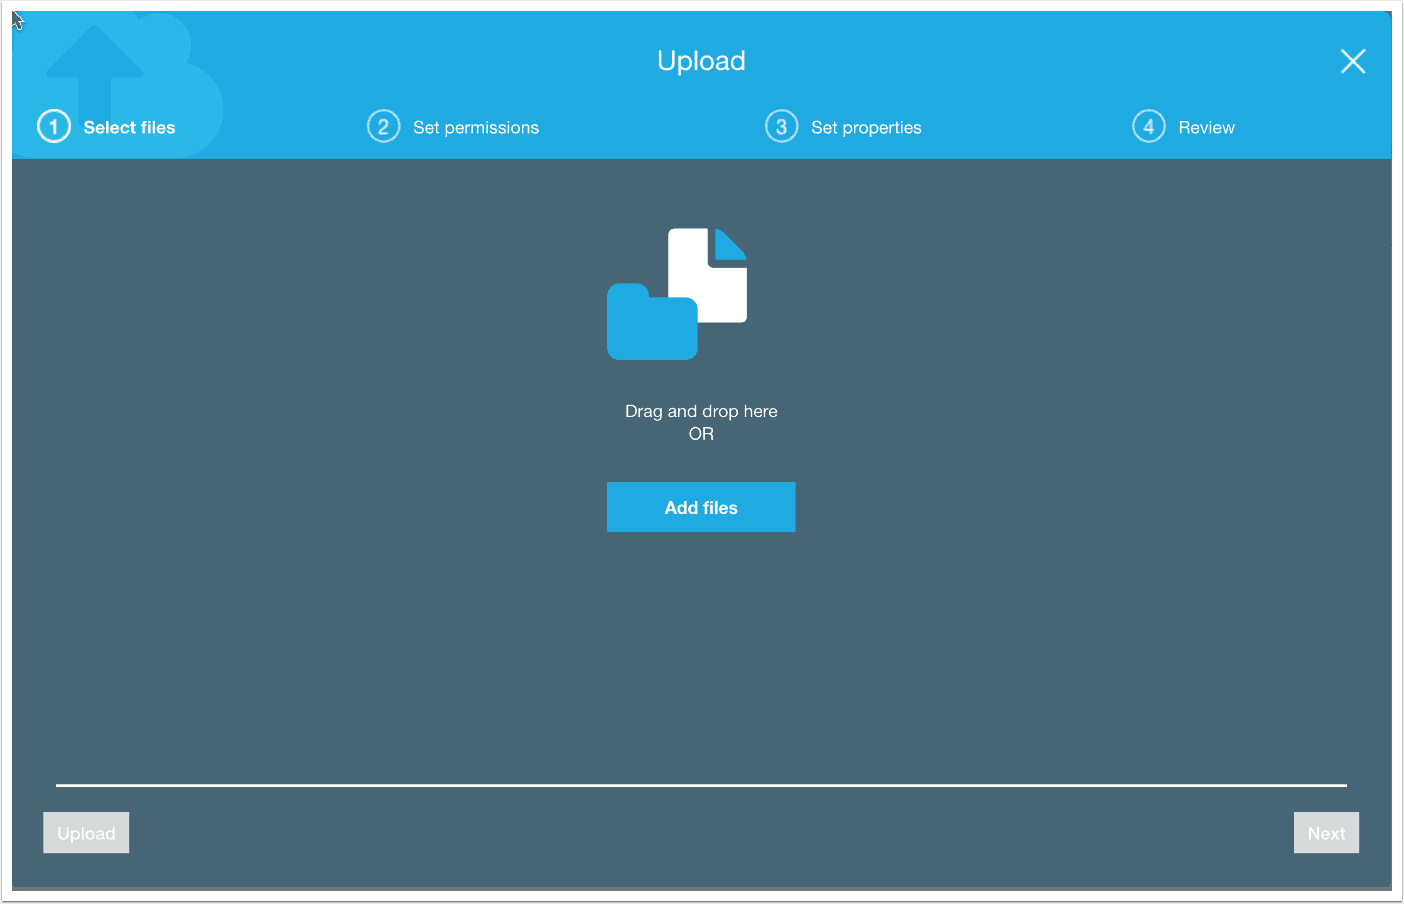
Once inside of your bucket, you can click the upload button to start uploading files.

Select the files you want to upload from your computer. You can upload multiple files at a time. This is a handy way of doing things, because once they’re on Amazon S3 you can add them to AccessAlly at a later time.
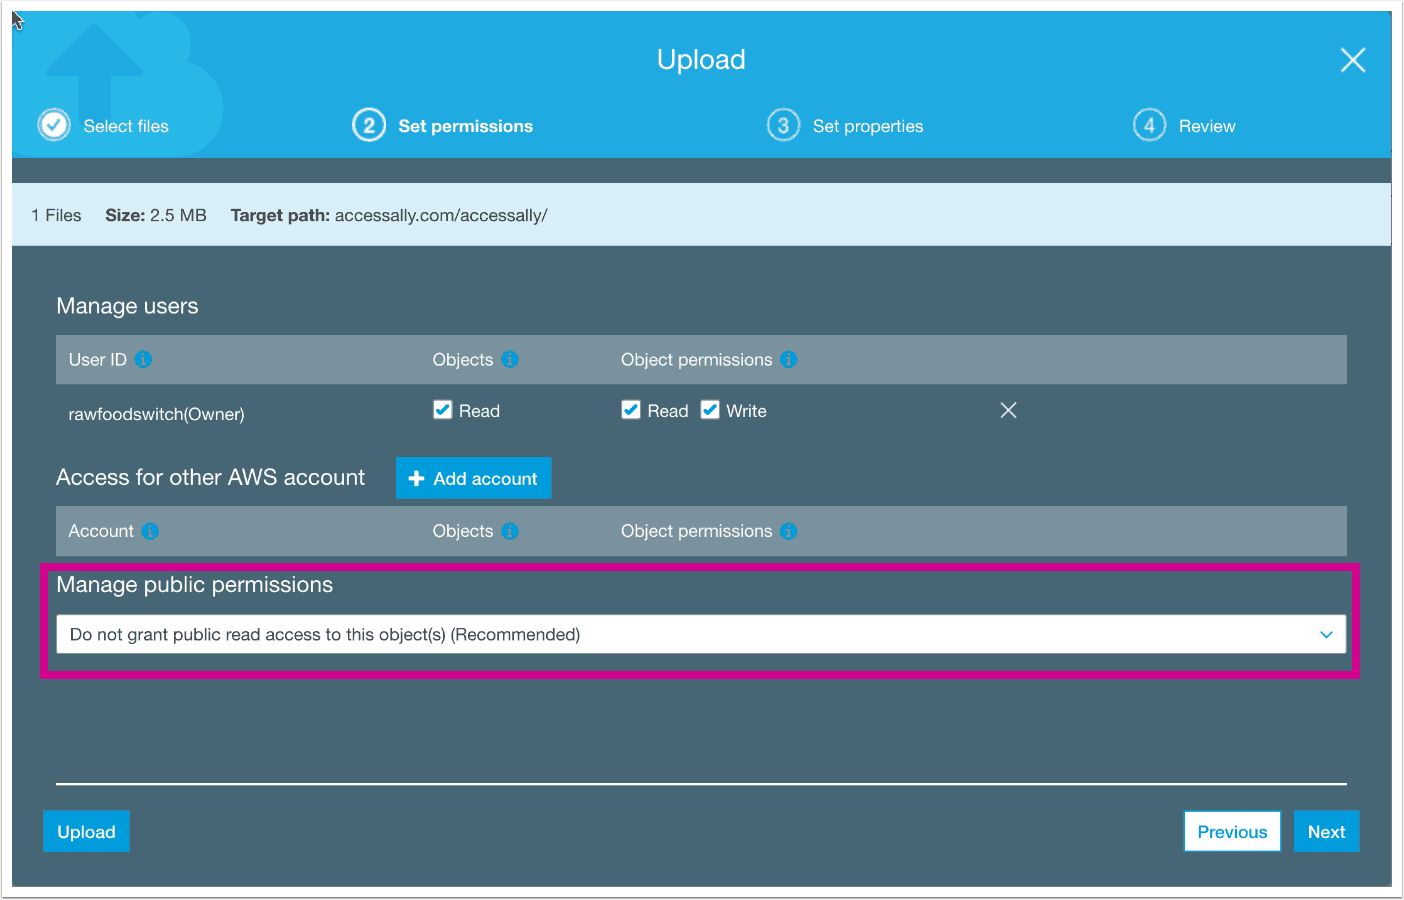
When clicking through the upload wizard, you’ll come to a section where you decide on the permissions of your files. With AccessAlly you do not need to make the files public – simply keep the default of “Do not grant public read access” and your files will be secured from prying eyes.
Then when you use the AccessAlly Protected Content feature to link to your Amazon S3 files, AccessAlly will check that a person has the right tags to access it and make it available to download or view. Otherwise, it’s securely hidden.
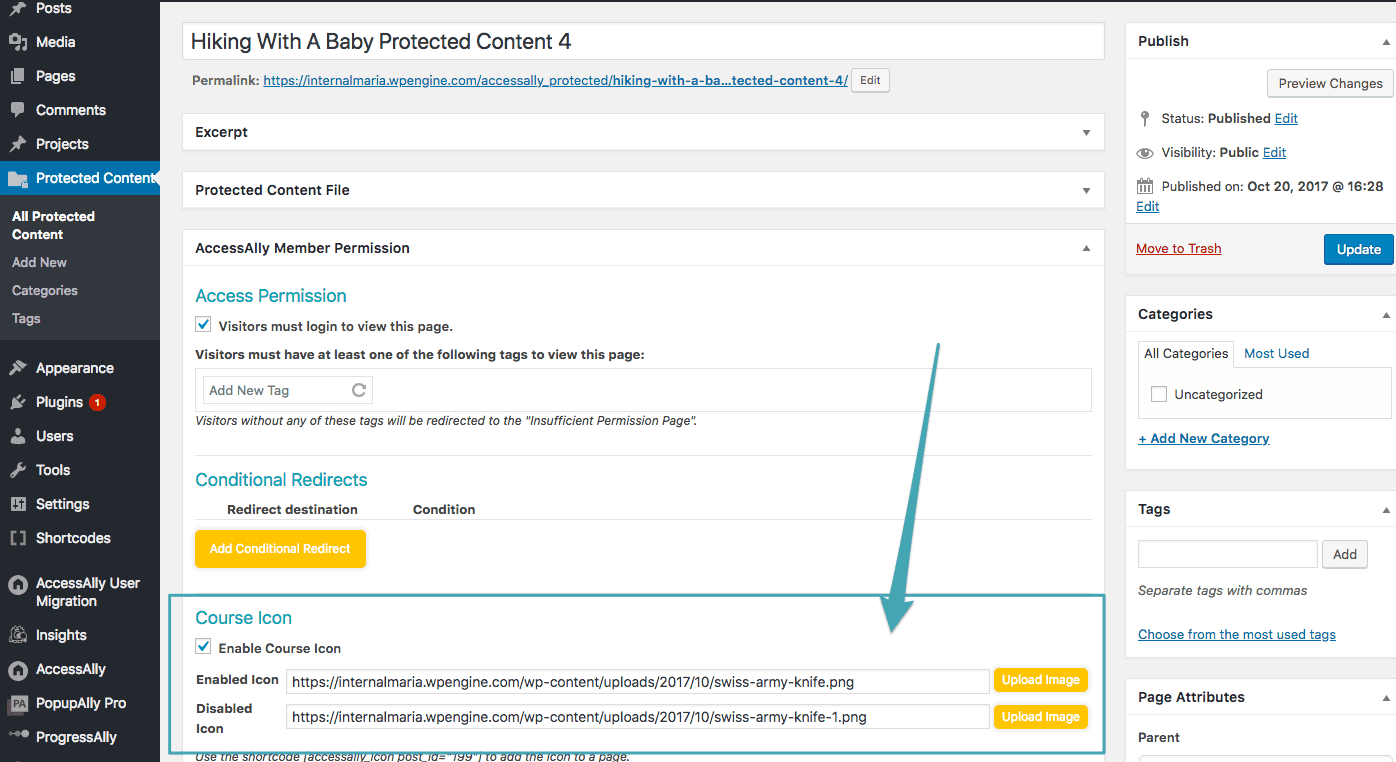
How to Turn Your Protected Content Into A “Course”
In most cases, a piece of protected content will be added to an online course that exists on your membership site. In this case, you will simply designate it in the appropriate area when building your course with the Course Creation Wizard.
However, if you wish to have a piece of Protected Content with its own unique course icon and tags, you can configure this manually by following the steps below:
Step 1: Upload Your Protected Content File
First, upload your Protected Content file by going to Protected Content > Add New. (Step 1A & 1B on this page give you detailed instructions on how to do this.)
Step 2: Configure Access Permissions
Scroll down to the AccessAlly member permission area. Here, you can check the box Visitors must login to view this page.
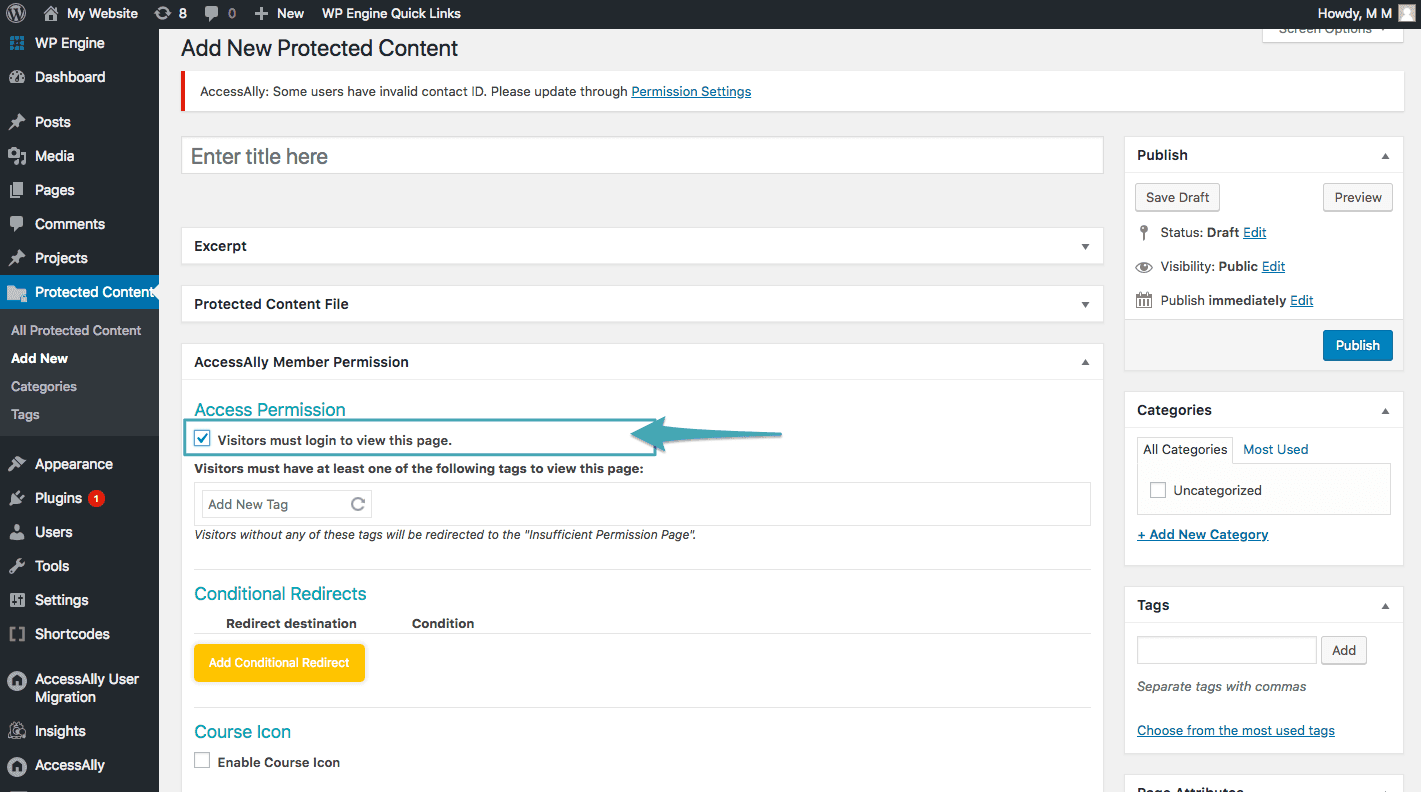
Once the box is checked, you can configure the permission tags & conditional redirects. (For more information on this area, please see this tutorial.)
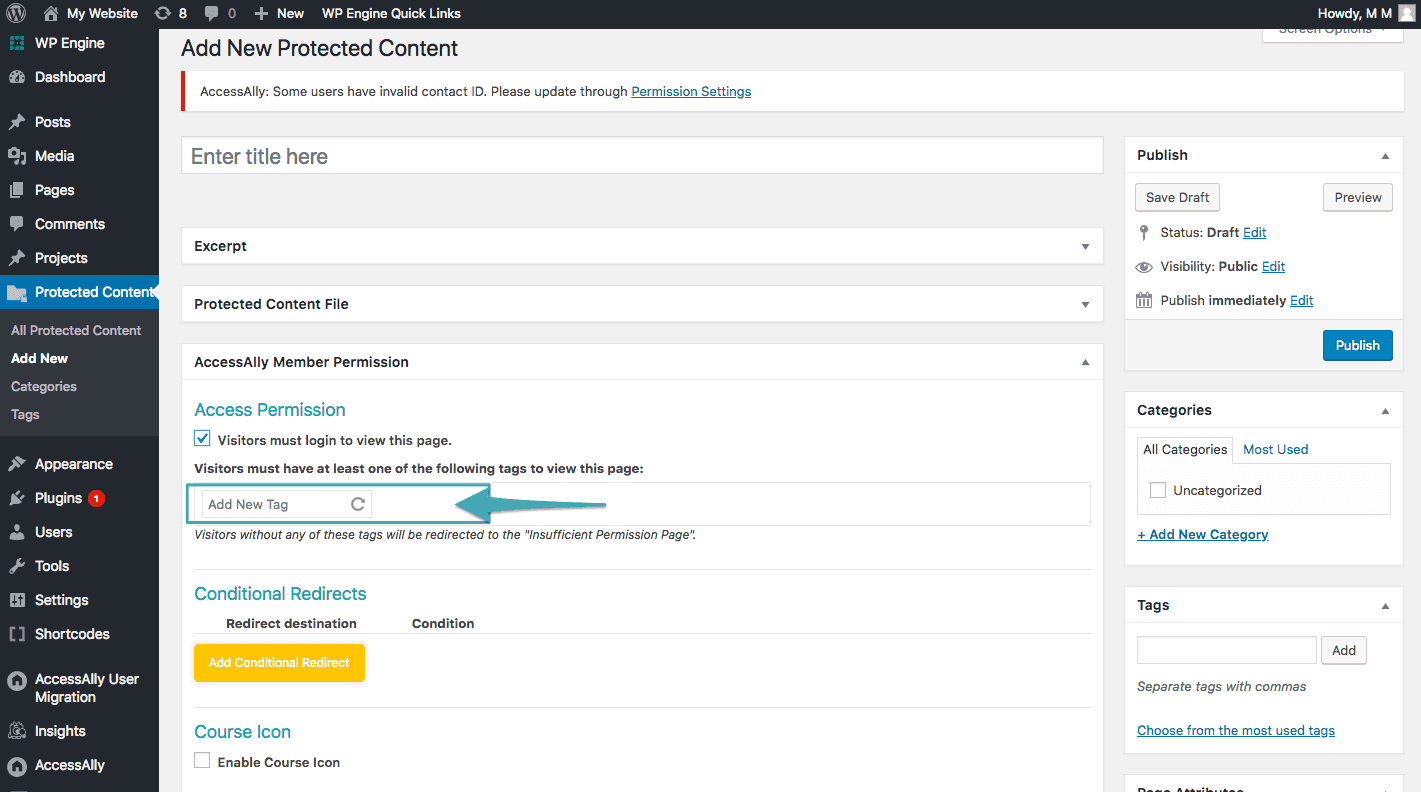
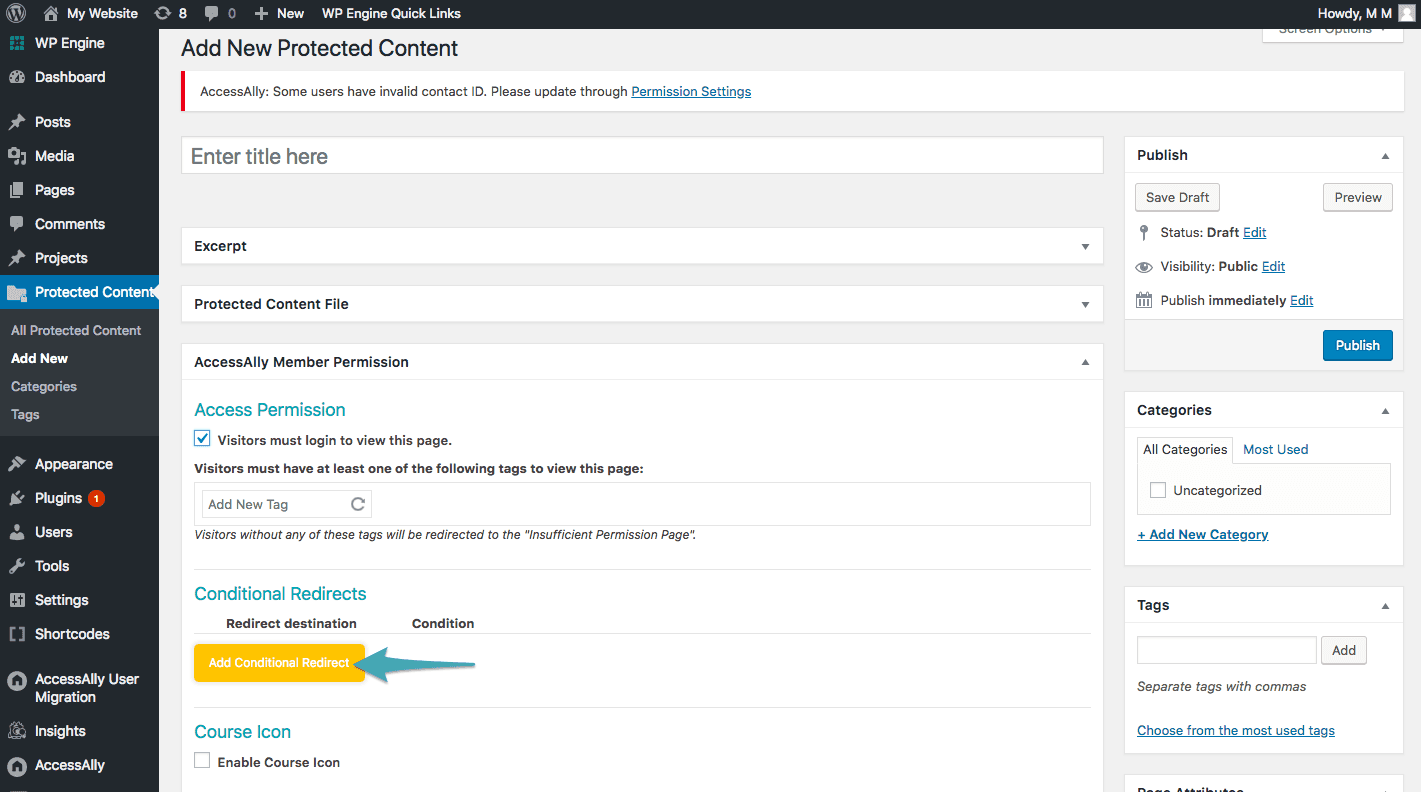
Step 3: Enable Course Icon
Next, check the box next to Enable course icon.
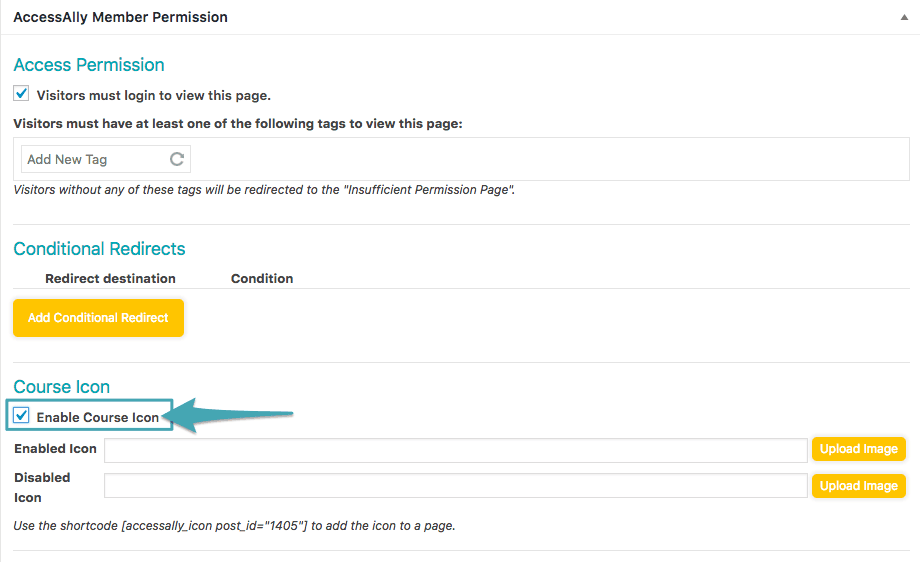
This will reveal additional settings, so you can upload the enabled & disabled versions of the icon. Use the shortcode adder to insert the icon shortcode wherever you want it to appear on your site.
Remember that AccessAlly will automatically show either the enabled or disabled version of the icon based on whether or not the logged-in user has the correct permissions to view the content.
